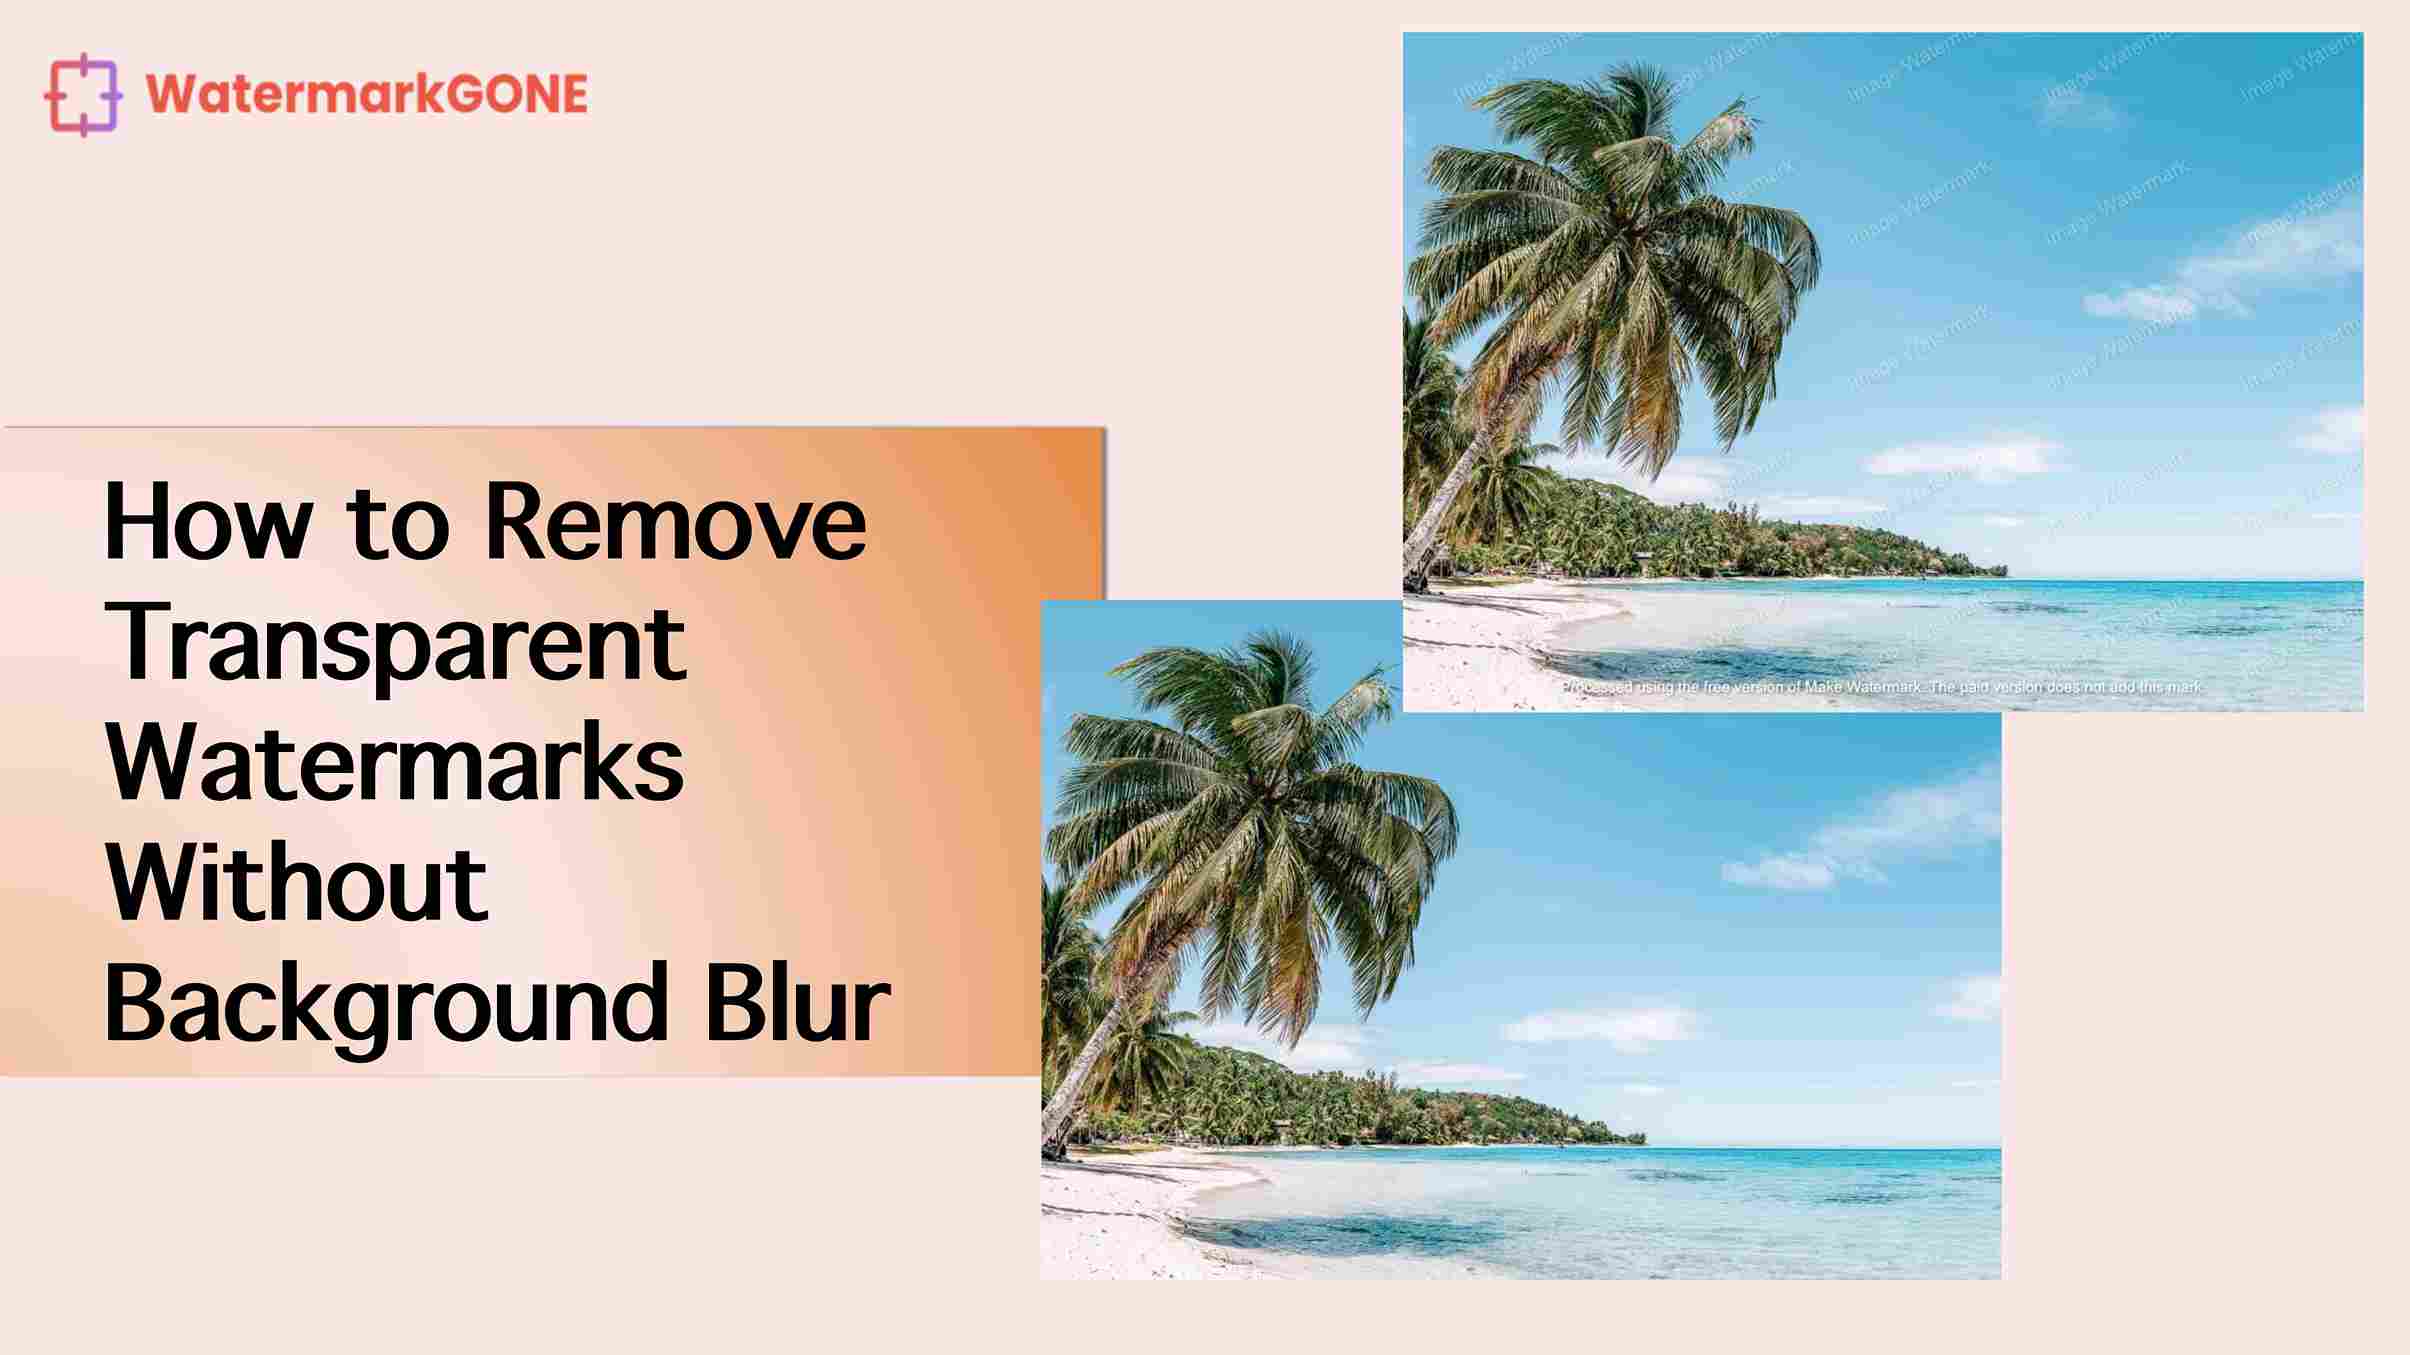
How to Remove Transparent Watermarks Without Background Blur
Removing transparent watermarks from images while keeping the background intact can feel like a tricky process. You might notice that many tools blur the background or compromise image quality during the removal. This happens because transparent watermarks blend into the image, making them harder to separate. With the right techniques, though, you can achieve flawless results. Tools like WatermarkGONE simplify this process, letting you focus on maintaining the original quality of your image. This guide will show you how to remove transparent watermarks without blurring the background for a clean and professional finish.
Key Takeaways
Pick clear, high-quality pictures to remove watermarks. This gives better results and fewer mistakes.
WatermarkGONE is a good tool to erase watermarks. Its smart AI makes it easy to use.
Change settings like transparency and use smart tools to keep the background clear.
Always save a copy of your original picture first. This way, you can go back if needed.
Practice on test pictures before editing real ones. This helps you improve and get great results.
Understanding Transparent Watermarks and Their Challenges
What Are Transparent Watermarks?

Transparent watermarks are semi-visible overlays added to images to protect ownership or brand identity. These watermarks often include logos, text, or patterns that blend into the image without obstructing its content. Their transparency ensures the image remains visually appealing while still marking it as protected.
Transparent watermarks are designed with specific characteristics. For example:
Characteristic | Description |
|---|---|
Perceptibility | A watermark is imperceptible if it is indistinguishable from the original signal. |
Robustness | The watermark should withstand various attacks and remain detectable. |
Embedding Methods | Techniques used to insert the watermark into the carrier signal without significant distortion. |
These features make transparent watermarks effective for protection but also challenging to remove without affecting the image quality.
Why Are Transparent Watermarks Difficult to Remove?
Removing transparent watermarks is tricky because they are embedded into the image in a way that merges with the background. This blending makes it hard to separate the watermark from the original content. Additionally, transparent watermarks often use advanced embedding methods that prevent easy removal.
Experts highlight several challenges:
Watermarks can be easily removed in some cases, especially with open-source tools.
Lack of standardization in watermarking methods complicates detection across platforms.
Invisible watermarks face issues with scalability and interoperability.
Removing watermarks can sometimes be as simple as altering a single line of code, but this risks damaging the image.
These factors explain why removing transparent watermarks without blurring the background requires specialized tools like WatermarkGONE.
Common Problems When Removing Transparent Watermarks
When you attempt to remove transparent watermarks, you may encounter several issues:
Background distortion: Many tools blur or smudge the background, leaving visible traces of editing.
Loss of image quality: Poorly designed tools can reduce the resolution or clarity of your image.
Incomplete removal: Some methods fail to fully erase the watermark, leaving faint outlines or artifacts.
Time-consuming processes: Manual removal techniques often take a lot of time and effort, especially for complex watermarks.
To avoid these problems, you need to use reliable tools and techniques. Learning how to remove transparent watermarks without blurring the background ensures your images remain professional and high-quality.
How to Remove Transparent Watermarks Without Blurring the Background
Preparing Your Image for Editing
Before you start removing a transparent watermark, you need to prepare your image properly. This step ensures the editing process goes smoothly and delivers the best results. Follow these steps to get your image ready:
Choose a High-Quality Image: Always work with the highest resolution version of your image. Low-quality images can make watermark removal harder and may result in visible artifacts.
Inspect the Watermark: Identify the watermark's location, size, and transparency level. This helps you understand how it blends with the background.
Segment the Watermark Area: Use tools that allow you to focus on the watermark region. This reduces unnecessary processing and speeds up the editing process.
Back Up Your Image: Save a copy of the original file. This ensures you can revert to the original if needed.
Studies show that using a segmentation-first approach improves the accuracy of watermark removal. For example:
Preparation Method | Description |
|---|---|
Segmentation-First Approach | Focuses on watermark regions, reducing unnecessary computations and processing time. |
Early Detection Mechanism | Improves segmentation accuracy by capturing global patterns for various watermark styles. |
By following these preparation steps, you set the stage for a seamless editing experience.
Using WatermarkGONE for Effective Watermark Removal
WatermarkGONE simplifies the process of removing transparent watermarks. Its advanced AI technology ensures you achieve clean results without compromising the background quality. Here’s how you can use it effectively:
Upload Your Image: Simply upload your image with the watermark to the WatermarkGONE website. You can choose your preferred image quality for the final result.
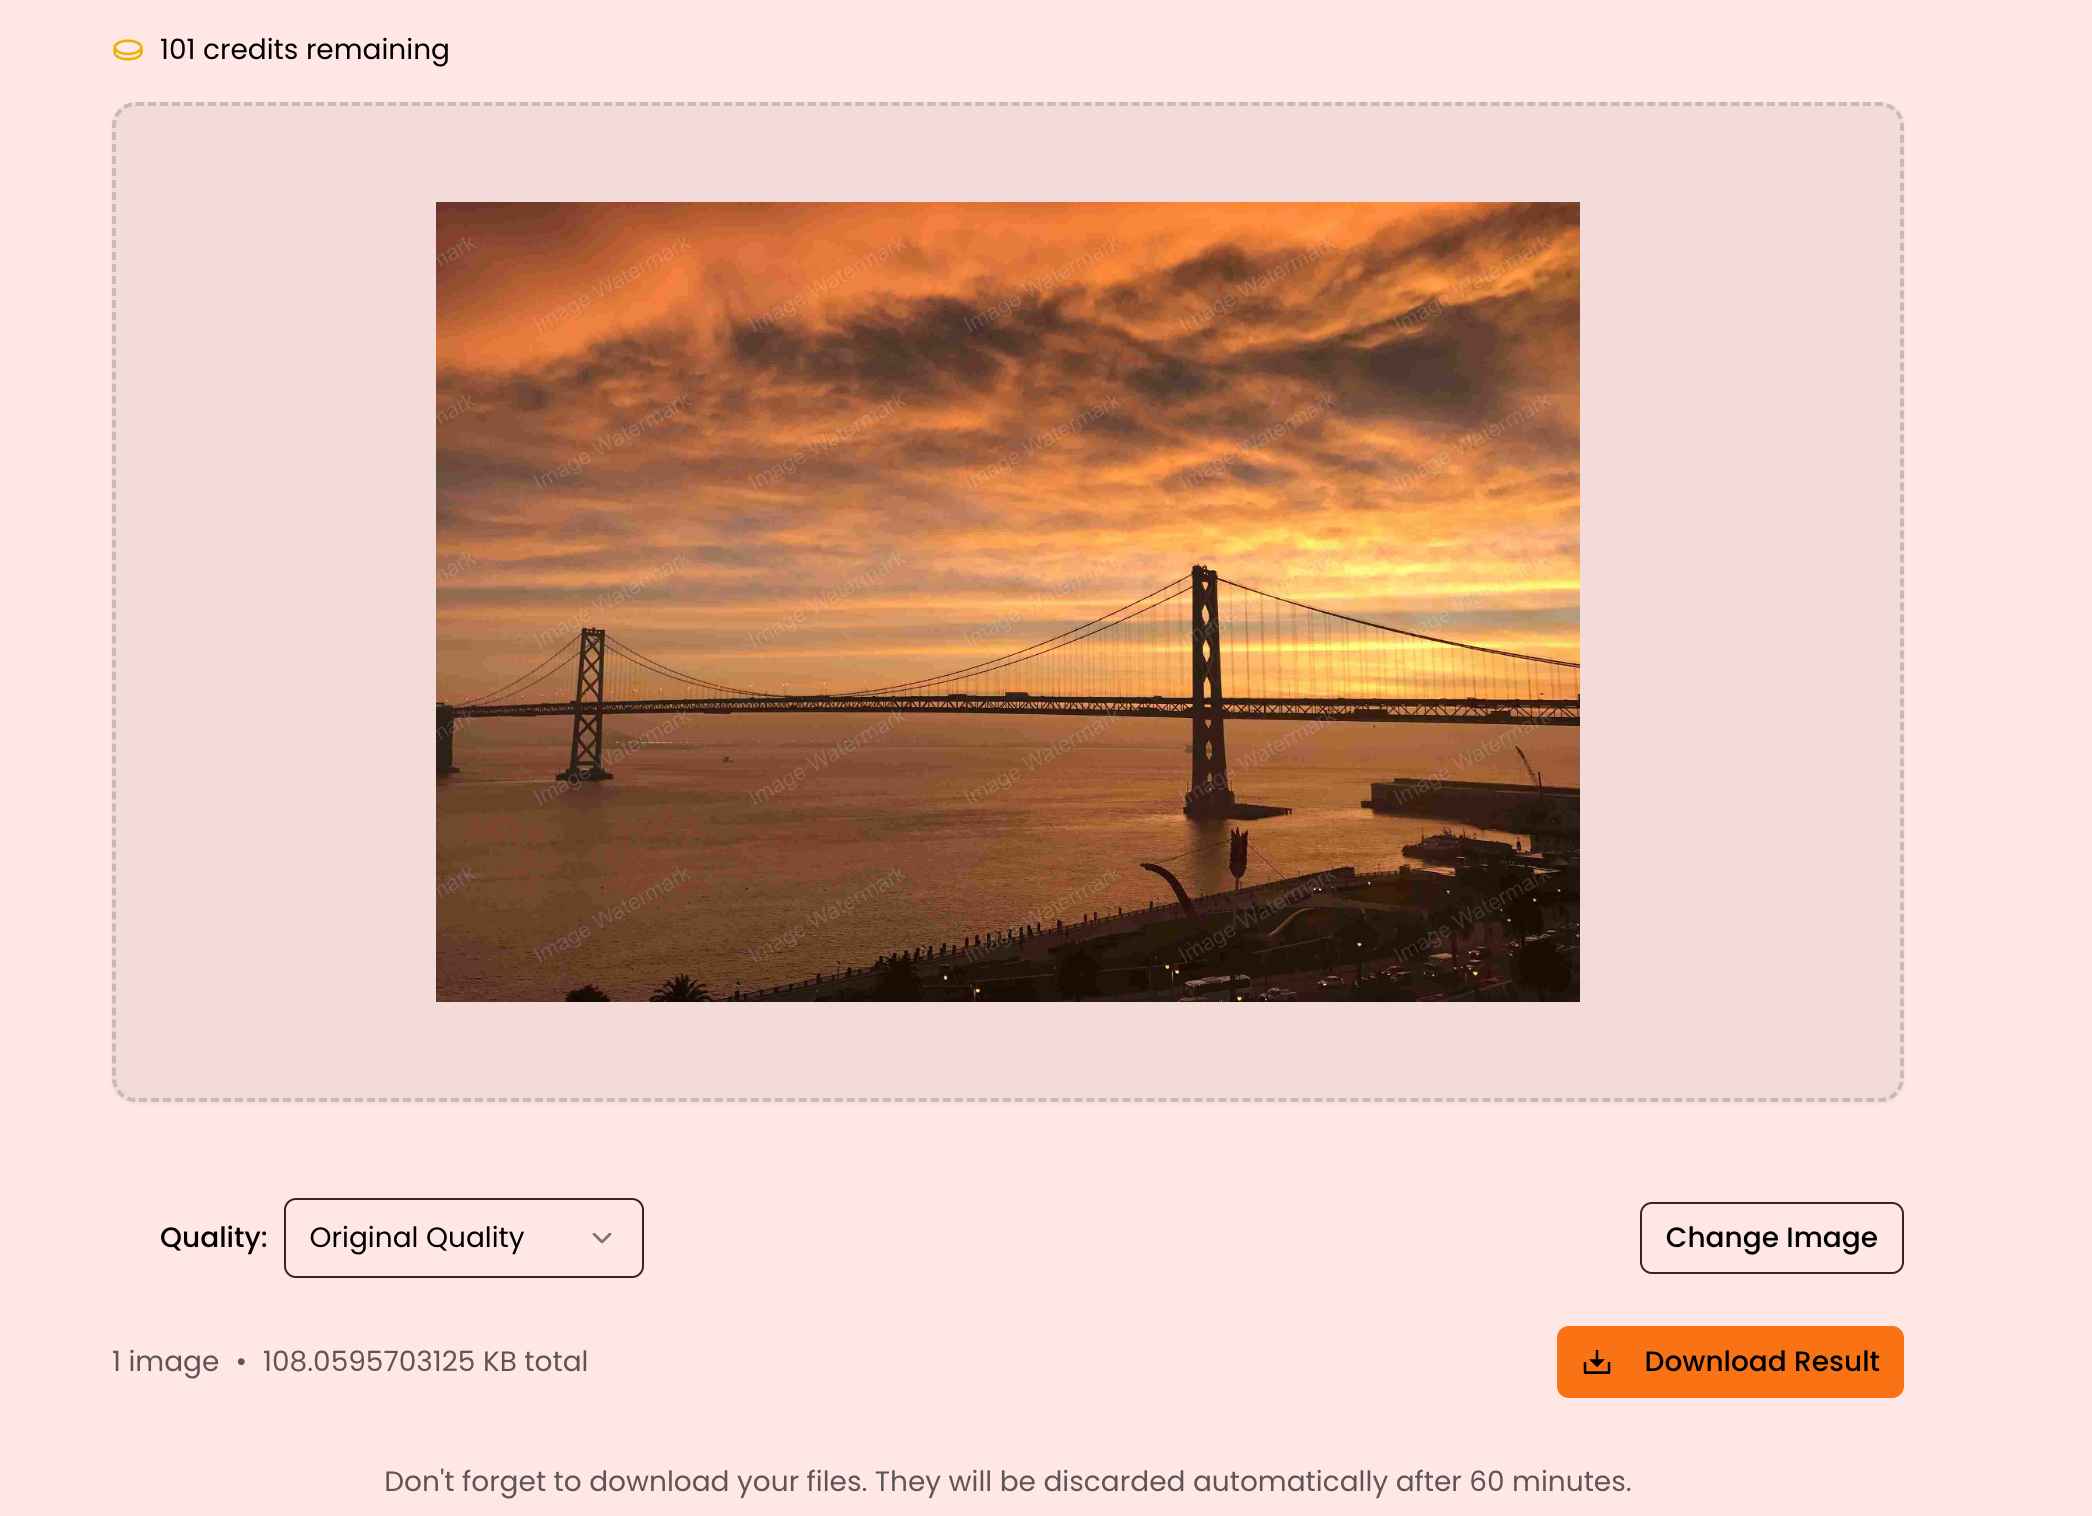
Let the AI Handle the Rest: The tool will automatically detect the watermark using smart detection technology. This eliminates the need for manual adjustments.
Preview the Results: Review the edited image to ensure the watermark is completely removed. WatermarkGONE’s AI ensures even complex watermarks are erased seamlessly.
Download Your Image: Once satisfied, download the edited image in its original quality.
WatermarkGONE’s ability to handle ultra-high-resolution images up to 4K ensures that your background remains intact. Its batch processing feature also saves time when working with multiple images. Whether you’re a professional or a casual user, this tool makes watermark removal effortless.
Saving and Exporting Your Edited File
Once you’ve successfully removed the transparent watermark, the final step is saving and exporting your edited image. This step ensures that your image retains its quality and is ready for use across various platforms. Follow these best practices to achieve optimal results:
Choose the Right File Format
Selecting the correct file format is crucial for maintaining image quality. Common formats like PNG and JPG offer different benefits. PNG files preserve transparency and are ideal for high-quality images, while JPG files are better suited for smaller file sizes. If your image contains intricate details or requires transparency, opt for PNG. For general use, JPG provides a good balance between quality and file size.Optimize the File Size
Large image files can slow down loading times, especially on websites or social media. Use compression techniques to reduce the file size without compromising quality. Tools like WatermarkGONE automatically optimize your image during export. Compression methods can be either lossless, which retains all image details, or lossy, which reduces file size with minimal quality loss. In many cases, lossy compression achieves up to 80% size reduction without visible degradation.Set the Resolution
High-resolution images look professional and crisp. Ensure your image resolution matches its intended use. For online platforms, 72 DPI (dots per inch) is standard, while print materials require at least 300 DPI. WatermarkGONE supports ultra-high resolutions up to 4K, ensuring your image remains sharp and detailed.Save a Backup Copy
Always save a backup of your edited file. This allows you to revisit the image if further adjustments are needed. Use a clear naming convention to differentiate between the original, edited, and backup files. For example, you could name your files asimage_original.png,image_edited.png, andimage_backup.png.Export for Specific Platforms
Different platforms may have unique requirements for image dimensions and formats. For instance, Instagram prefers square images with a resolution of 1080x1080 pixels, while websites often use landscape-oriented images. Adjust your export settings to match these specifications. WatermarkGONE simplifies this process by offering preset options tailored to various platforms.
Pro Tip: Before finalizing your export, preview the image on the intended platform. This ensures it appears as expected and meets all quality standards.
By following these steps, you can save and export your edited image without losing its quality. Whether you’re preparing images for personal use, professional projects, or online sharing, these practices ensure your work looks polished and professional. With tools like WatermarkGONE, you can confidently remove watermarks and maintain the integrity of your images. This process demonstrates how to remove transparent watermarks without blurring the background while achieving a flawless finish.
Comparing the Best Tools for Transparent Watermark Removal

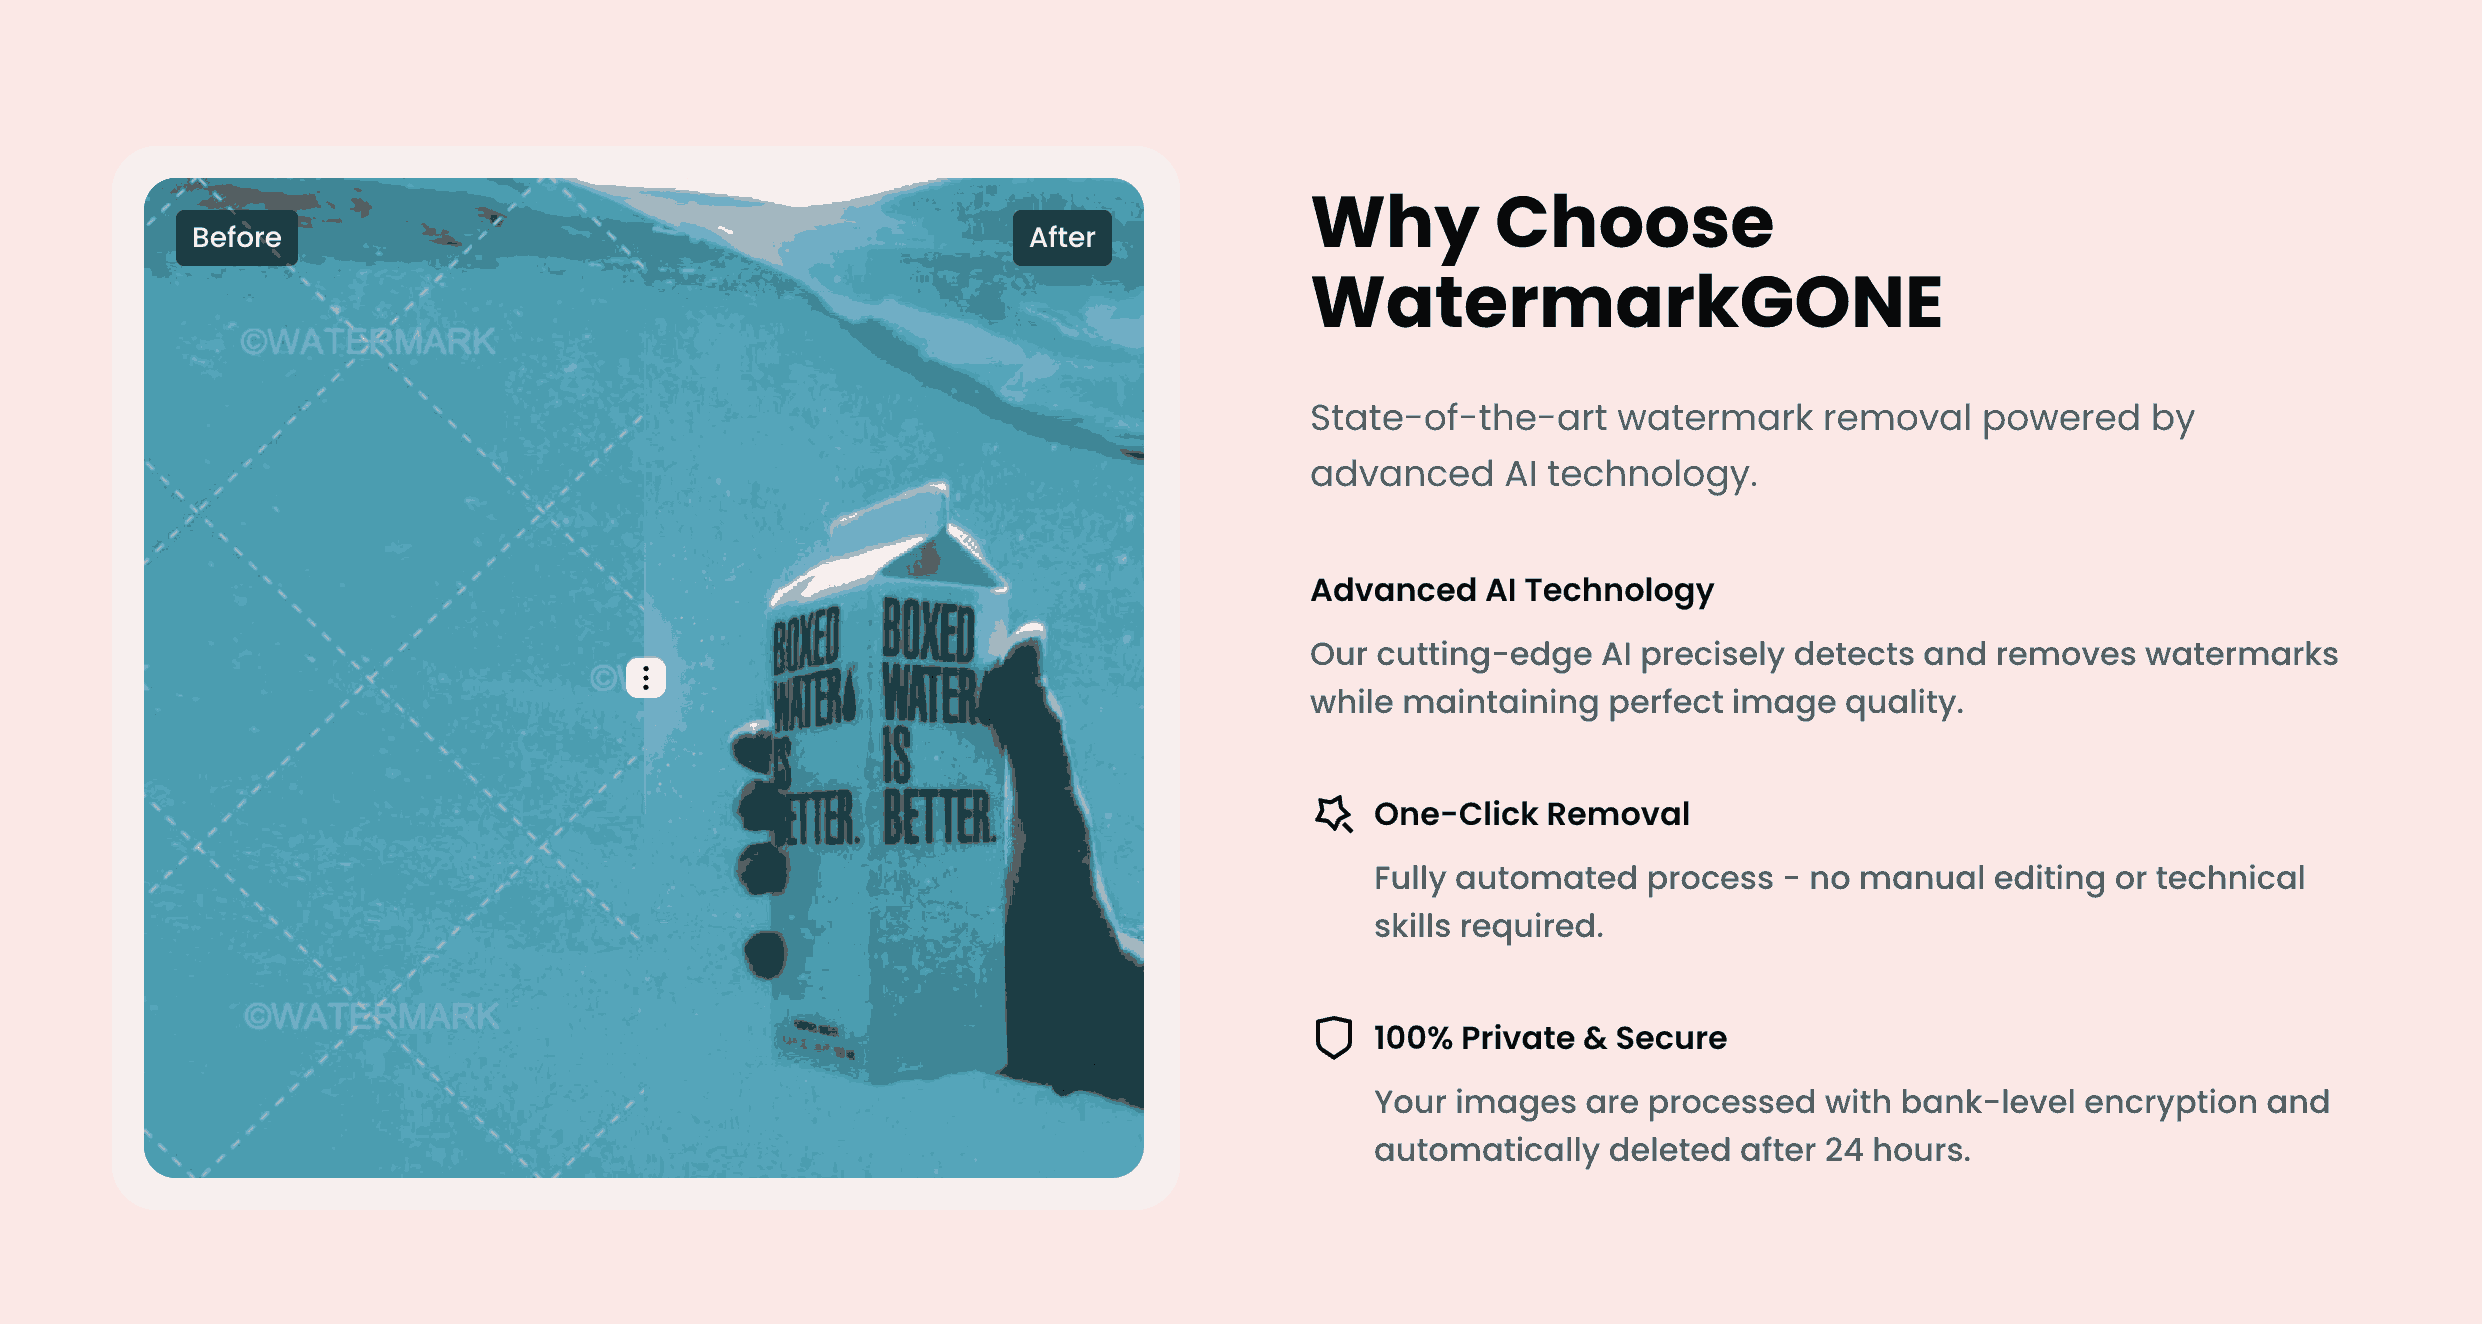
Key Features of WatermarkGONE
WatermarkGONE stands out as a powerful tool for removing transparent watermarks. Its advanced AI technology ensures precision and efficiency, making it suitable for both beginners and professionals. Here are some of its key features:
AI-Powered Detection: WatermarkGONE uses smart detection to identify and remove watermarks seamlessly. This eliminates the need for manual adjustments.
Zero Quality Loss: The tool guarantees that your images retain their original quality, even after watermark removal.
Ultra-High Resolution Support: You can work with images up to 4K resolution, ensuring professional-grade results.
Batch Processing: WatermarkGONE allows you to process multiple images simultaneously, saving time and effort.
User-Friendly Interface: The platform is designed to be intuitive, making it easy for anyone to use without prior experience.
Privacy and Security: With bank-level encryption and automatic deletion of uploaded files after 24 hours, your data remains safe.
These features make WatermarkGONE a reliable choice for achieving clean, watermark-free images.
WatermarkGONE vs. Other Tools
When comparing WatermarkGONE to other tools, it becomes clear why it is a preferred option for many users. Here’s a breakdown of how it stacks up against competitors:
Feature | WatermarkGONE | Some Other Tools |
|---|---|---|
AI-Powered Detection | Yes, advanced and automatic | Limited or manual |
Image Quality Retention | Zero quality loss guaranteed | Often reduces image quality |
Resolution Support | Up to 4K | Typically supports lower resolutions |
Batch Processing | Yes, included | Some available |
Ease of Use | Intuitive and beginner-friendly | Can be complex or outdated |
Privacy and Security | Bank-level encryption | Varies, often less secure |
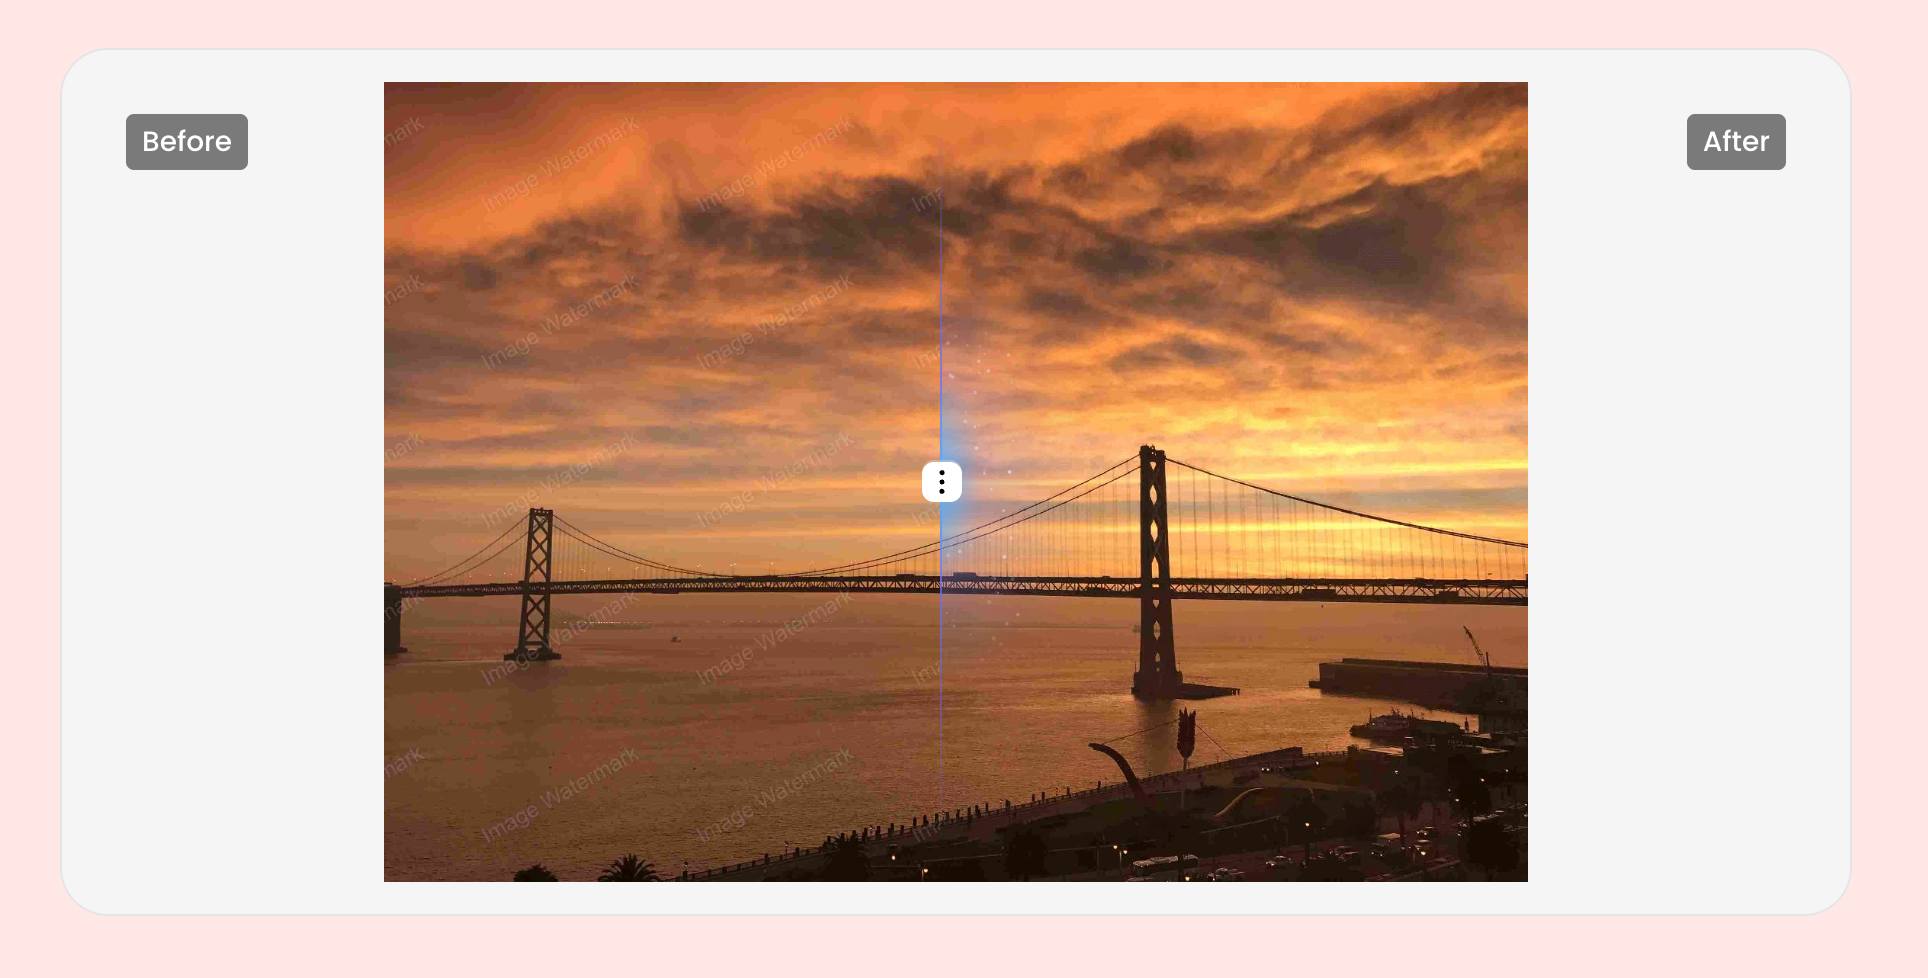
Many tools struggle to maintain background clarity or fail to remove watermarks completely. WatermarkGONE excels in both areas, making it a superior choice for users who value quality and efficiency.
Why WatermarkGONE Is Ideal for Background Clarity
WatermarkGONE is specifically designed to preserve the integrity of your image’s background. Its AI technology ensures that even the most complex watermarks are removed without leaving traces or artifacts. Here’s why it excels in maintaining background clarity:
Adaptive Reconstruction: The tool intelligently restores background areas affected by watermark removal. This ensures a seamless finish.
High-Resolution Support: Working with ultra-high-resolution images ensures that every detail of the background stays sharp and intact.
Smart Detection Algorithms: These algorithms focus on removing only the watermark, leaving the rest of the image untouched.
If you’re wondering how to remove transparent watermarks without blurring the background, WatermarkGONE provides the perfect solution. Its focus on background clarity sets it apart from other tools, making it an ideal choice for professionals and casual users alike.
Avoiding Common Mistakes During Watermark Removal
Overusing Blur or Smudge Tools
Using blur or smudge tools might seem like an easy way to remove watermarks, but it often leads to poor results. These tools distort the background, leaving visible traces of editing. You might notice smudged areas or uneven textures where the watermark once existed. This can make your image look unprofessional.
Instead of relying on these tools, focus on using software like WatermarkGONE. Its AI-powered detection removes watermarks without altering the background. If you must use manual tools, apply them sparingly and only to small, isolated areas. Always zoom in to check for any unwanted artifacts before finalizing your edits.
Pro Tip: Avoid over-editing. Subtle adjustments often yield better results than aggressive edits.
Neglecting Image Resolution and Quality
Starting with a low-resolution image can make watermark removal more challenging. Low-quality images often lose detail during editing, resulting in blurry or pixelated backgrounds. You may also struggle to restore the original clarity after removing the watermark.
To avoid this, always work with the highest resolution version of your image. Tools like WatermarkGONE support ultra-high resolutions up to 4K, ensuring your edits maintain professional quality. Before editing, inspect your image for any pre-existing flaws. This helps you identify areas that may need extra attention during the process.
Note: Saving your edited image in the wrong format can also reduce quality. Use PNG for high-quality results or JPG for smaller file sizes.
Choosing the Wrong Software for Transparent Watermarks
Not all software is designed to handle transparent watermarks effectively. Some tools fail to detect semi-transparent overlays, while others compromise the background quality. You might end up spending hours on manual adjustments, only to achieve subpar results.
Choose a tool specifically designed for watermark removal, like WatermarkGONE. Its smart detection technology targets watermarks without affecting the rest of the image. Look for features like batch processing, high-resolution support, and adaptive reconstruction to ensure a seamless experience.
Reminder: Research your options before committing to a tool. The right software can save you time and effort while delivering professional results.
Conclusion
Removing transparent watermarks without blurring the background is simpler than you might think. By using AI-powered tools like WatermarkGONE, you can achieve professional-quality results effortlessly. Its advanced AI algorithms ensure your images retain their original clarity while seamlessly reconstructing areas where watermarks were removed. This makes it ideal for professionals like photographers and graphic designers who demand precision. With the steps and tips outlined in this guide, you now know how to remove transparent watermarks without blurring the background. Start applying these techniques today to create flawless, watermark-free images.
FAQ
How does WatermarkGONE remove transparent watermarks?
WatermarkGONE uses advanced AI technology to detect and remove watermarks. It analyzes the image, identifies the watermark, and reconstructs the background seamlessly. This ensures the watermark is removed without affecting the image quality or blurring the background.
Can I use WatermarkGONE for batch processing?
Yes, WatermarkGONE supports batch processing. You can upload multiple images at once, and the tool will remove watermarks from all of them simultaneously. This feature saves time and effort, especially when working with large image collections.
Does WatermarkGONE work with high-resolution images?
Absolutely! WatermarkGONE supports ultra-high-resolution images up to 4K. This ensures your images retain their sharpness and clarity, even after watermark removal. It’s perfect for professionals who work with detailed, high-quality visuals.
Is my data safe when using WatermarkGONE?
Yes, your data is secure. WatermarkGONE uses bank-level encryption to protect your uploads. Additionally, all images are automatically deleted from the server after 24 hours, ensuring your privacy and security.
What file formats does WatermarkGONE support?
WatermarkGONE works with popular formats like JPG, PNG, and WEBP. This compatibility ensures you can edit a wide range of images without worrying about format restrictions. It’s designed to handle both standard and high-quality files effortlessly.
See Also
Ways to Eliminate Watermarks from Images Without Any Software

© 2024 WatermarkGONE • All rights reservedbuild with WatermarkGONE